Week 5: 3D scanning and printing
The assignment:
1. Group assignment: Test the design rules for your 3D printer(s)
2. Individual assignment:- design and 3D print an object (small, few cm3, limited by printer time) that could not be made subtractively - 3D scan an object (and optionally print it)
What I have learned from testing the 3D printers
3D printing is also referred to as additive manufacturing (you add material). In class we learned that on the one side additive manufacturing has some benefits compared to subtractive methods like : Minimal waste, low costs on materials, easy to use, freedom of design. On the downside additive manufacturing has poor surface definitions and tolerances + lack of force on the Z-axes
Hardware
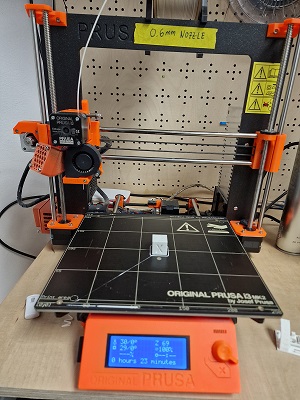
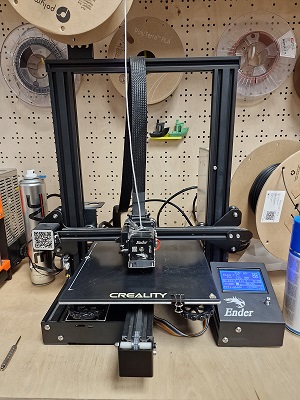
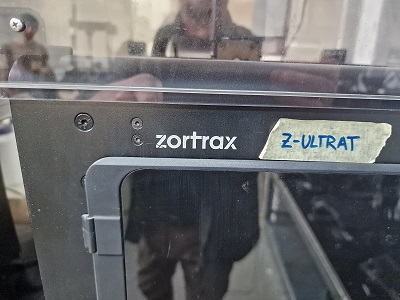
In the Lab I tried the Prusa, Ender and Zortrax for FDM prints (fused deposition modeling). This process is about filament (plasticmaterial) getting extruded through a heated nozzle and where the model is built by putting layer by layer on top of each other.
In the group assignment we also tried the AnyCubic Photon M3 plus for SLA printing/Resin 3D printing (Stereolithography). This process is about use using a light source—a laser or projector—to cure liquid resin into hardened plastic. Some of the advantages of this technology are prints that give you a smooth surface and a very accurate and detailed result that is watertight.

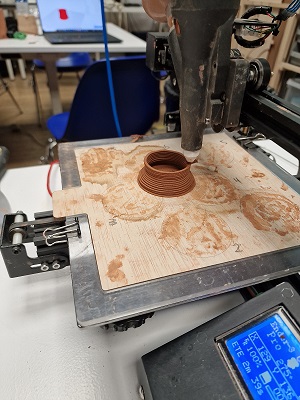
And we also tried the Clay Printer one afternoon. This re-built Ender makes it possible to print with clay og other types of bio-materials like potatoes, dough, eggshells etc. (We only tried clay 😊) Its also a printer where you can print all the parts for it and then built another one. The RepRap way. We never got a link to the webpage where the files are, - but I will find out later.
Software and settings
For FDM and Clay prints Cura can be used to slice your model. I downloaded Cura here. For SLA we used “Anycubic Photon Workshop 3D slicer software”. It is also free (like Cura) and can be downloaded here.
Several parameters are important for the the quality of the print and the performance of the 3D printer and all of this is set in the software.
In the following I will focus on FDM printing. When it comes to 3D printing a lot can go wrong. Using benchies or doing the so-called “torture tests” you get information on where to improve your prints. Several parameters are important for the quality of the print and the performance of the 3D printer.
Here are some of the things I learned about settings:
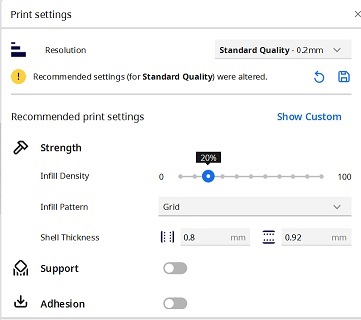
Quality:To set the quality of your print you can use layer height. This is about resolution and how long a print will take. Higher numbers will give you lower resolution and faster prints and vice versa. 0.2 mm is the setting I use as a standard.
Strength:To set the strength of your print you can use infill and set the thickness of your walls and the top/ bottom. As a standard I use 20% infill density and I use a grid as the infill pattern. I set the walls somewhere between 0.8 and 1.2 mm and the top/bottom layer to 0.8 mm and for the number of layers I use 4.
Speed.To determine how fast the print is actually happening. I set the speed to 75mm/sek. But I have also succeded with higher numbers. Speed for walls and top/bottom layers are half of the print speed as a standard. And travel speed can go higher (the time it takes the nozzle to move between printing). I set it to 187.5mm/sek in this example.
Temperature:The temperature of the nozzle affects the melting point of the material. Different materials have different melting points. You can check the spool for the settings. I use 210 degrees for a standard PLA. And then there is the temperature of the bed. This affects the adhesion of the material. I use 60 degrees as a standard.
Materials:There are many different filament types and qualities e.g.:PLA, ABS, Nylon, PETG, Flexible (TPU/TPE), Wood-filled, Metal-filled, Carbon filled, PVA (dissolves in water) etc.) I use PLA for standard prints, unless I have a specific purpose that requires something special, - then I choose otherwise. I found this page helpful for a description of different materials
Support:This is about creating structures that support the model and prevents it from collapsing, e.g if it has overhangs and the angle of the overhang is more the 45 degrees (check the torture test). In Cura you can choose between normal (a structure directly below the overhanging parts and straight down) and tree support (a structure like branches that crawl around the model to support it from the buildpalte). The support can be set to be placed everywhere (then the support is printed on the model and has to be removed from the model afterwards which can be tricky and might call for sanding.) or to touch the buildplate.
Adhesion:To make sure that print sticks to the bulidplate you can either use brim (a single layer around yor model that should prevent it from warping) or a raft (a thick grid under your model that I would use if the bottom of the model isn’t flat). An advice is not to use any adhesion unless you have to. It can be difficult to remove afterwards.
These are just some of the parameters that can be adjusted and optimized through iterative testing.
This is how I designed and 3D printed an object.
I started by making some research on examples on structures and models that only can be created with additive manufacturing/ 3D printing. Here I found some examples on creation of complex geometric structures like this one designed with topology optimization software e.g.:See an example on software here
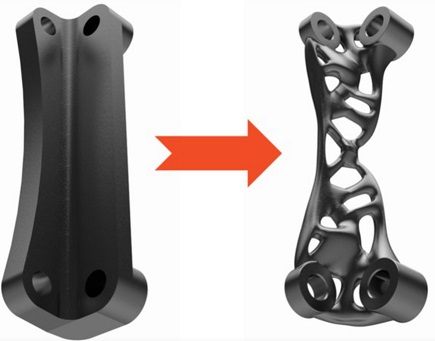
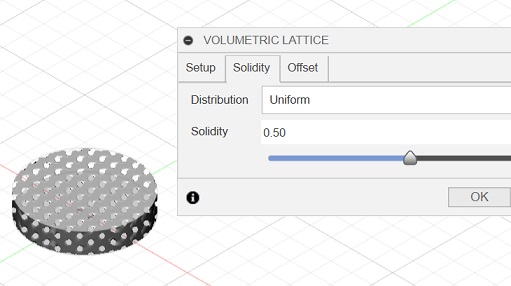
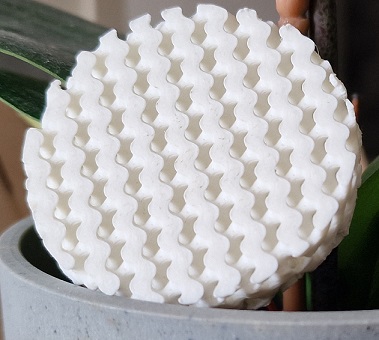
I also stumbled upon lattice structures that are often used when you want to reduce weight/ material of an item, like e.g. in the airplane industry or when infill is created for a 3D print. And I decided to see if I could design and print an object with only lattice structures in fusion 360 as an experiment. You might say that I am printing only the infill. I am more thinking of exploring some of the perspectives that you find in e.g architecture, where volumetric lattice structures enable new designs, new structures and aesthetics. And along with that I am interested in the research into volumetric lattices that continues to explore new materials, fabrication methods, and applications, driving innovation in (as already mentioned) aerospace engineering to biomedical implants.
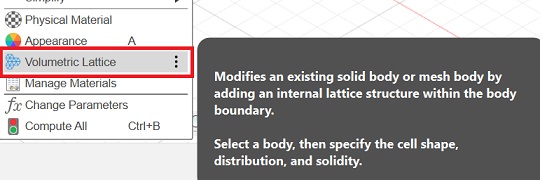
I found also this page useful: Autodesk on Volumetric Lattice.
As a beginner with this I am aware that I only scratch the surface of this technology for now, - but below you can see how far I managed to come this week
This is how I did it
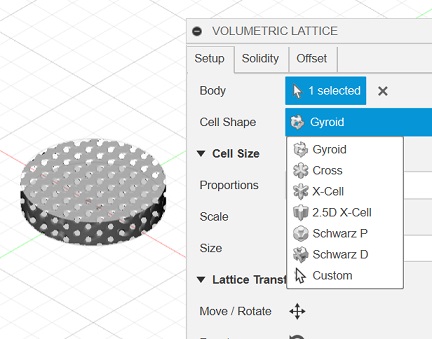
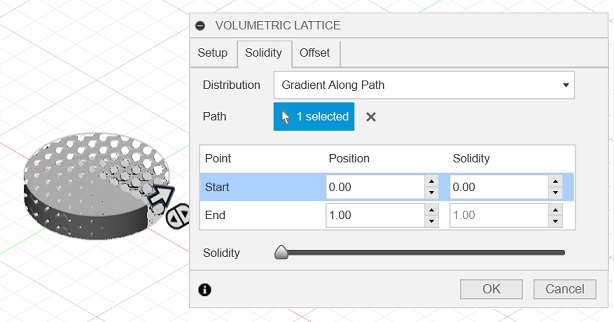
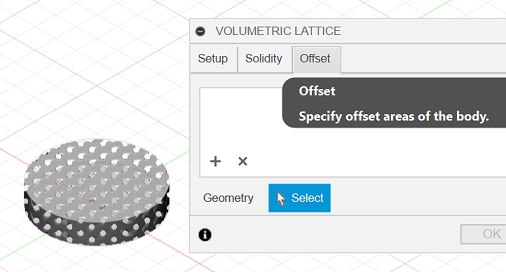
First I sketched a circle with a diameter of 50 mm and extruded a height of 10 mm. Then I selected the volume lattice from the modify menu.

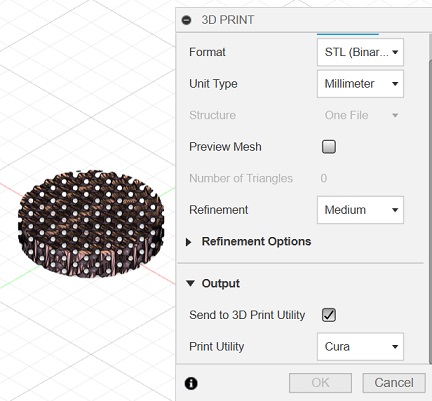
 The original design file for 3D printing
How I 3D scanned objects
For scanning I did 2 things
1.For 3D scanning we used the XBOX 360 Kinnect as a scanner and the software Scanect. In the software the workflow goes likethis: prepare>record>reconstruct>process>share

I learned that when recording the software tracks the movement of the scanner. 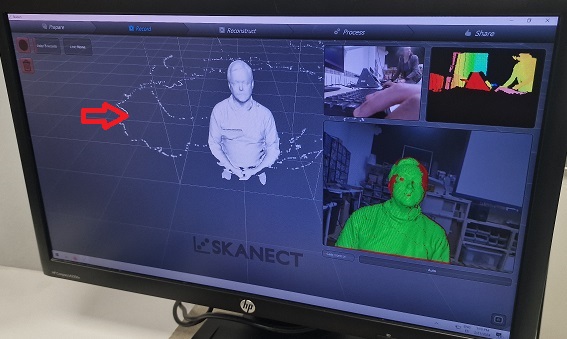 .
.
That’s interesting and can give you useful information if your scanning should fail, -did you scan head, chin etc.
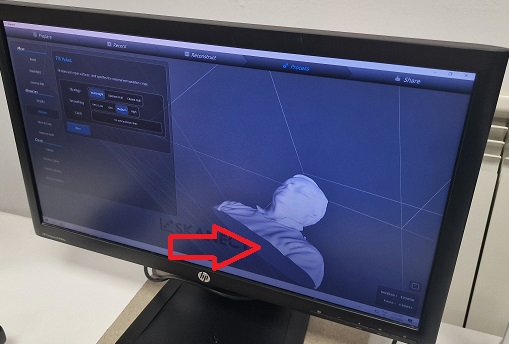
In the processing part you might want to trim your scan. Here I learned to move the scanning down to arrange the torso and remoce unwanted parts.
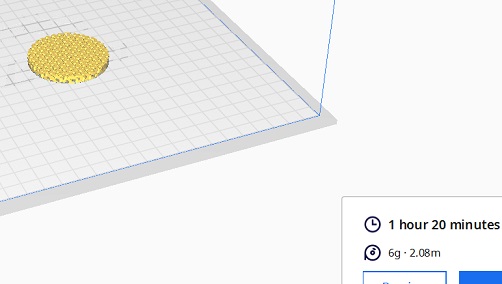
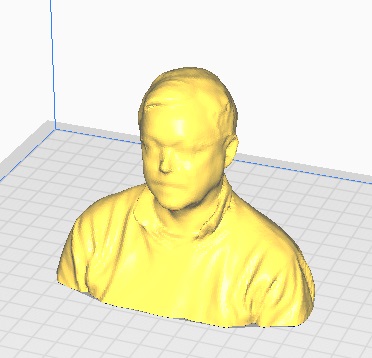
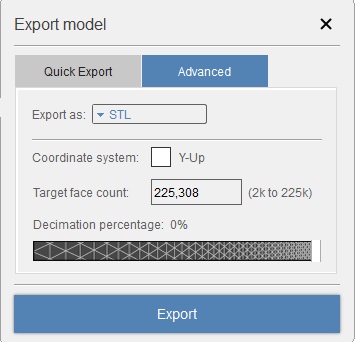
In the end you can export the model in different formats e.g. STL or OBJ and open it in e.g.Cura to 3D print it.
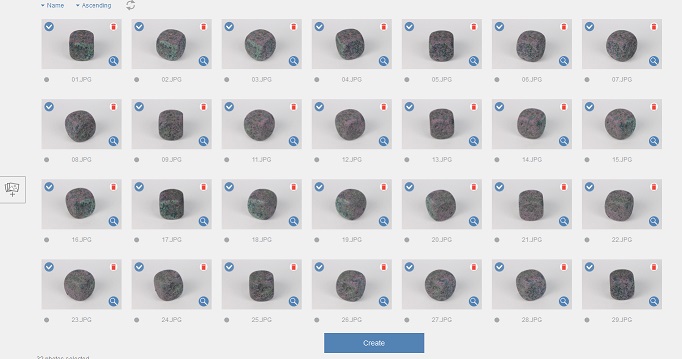
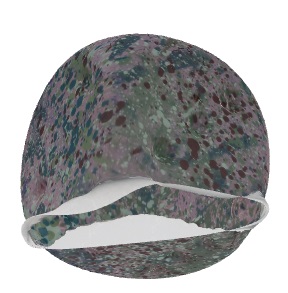
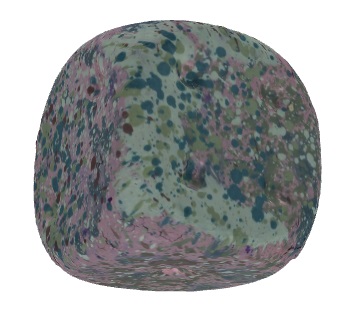
Photogrammetry
For Photogrammatry I found a dataset with images of a dice here:Github I opened them in ReCap.
Extra
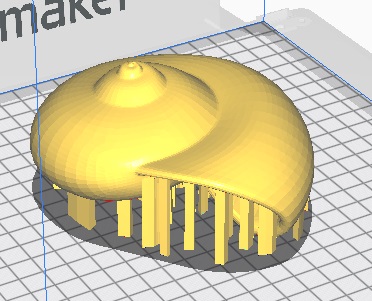
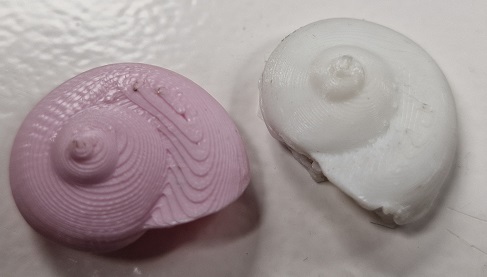
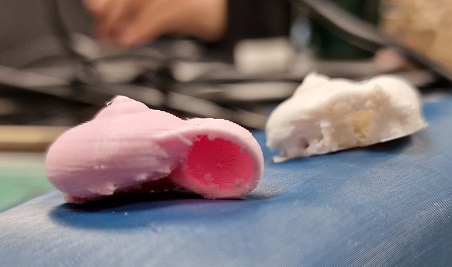
As a small warm-up exercise I printed some snail shells that I found on thingiverse to see how well the Ender printer could print organic shapes. I learned that there is a huge difference between standard PLA (the pink) and flex PLA. I couldnt remove all the support in the flexi print and had a hard time doing it on the standard filament. So go easy on the support. - use it only if you need it.